Can I Export in After Effects and Upload to Avid

Introduction to Export in After Effects
Adobe Afterward Consequence software is mostly used for manipulating our work related to videography and photography. It besides helps in providing blitheness to our project for making it more and more effective for viewers. Consign means saving our work in an appropriate file format at the desired location. In Adobe Later Effect software, we utilize Consign for the same work that is saving our projection in our required file format for presenting information technology in the real world. Export in Afterward Effects is a basic and important part of After Upshot because nosotros need it to utilize information technology in every project.
Exporting Projects in Adobe After Effects
Figuring out how to export your first Later Effects project tin be difficult. Here'due south a quick guide on how to go started, and you will also learn how to export whatever project in the desired format and desired location.
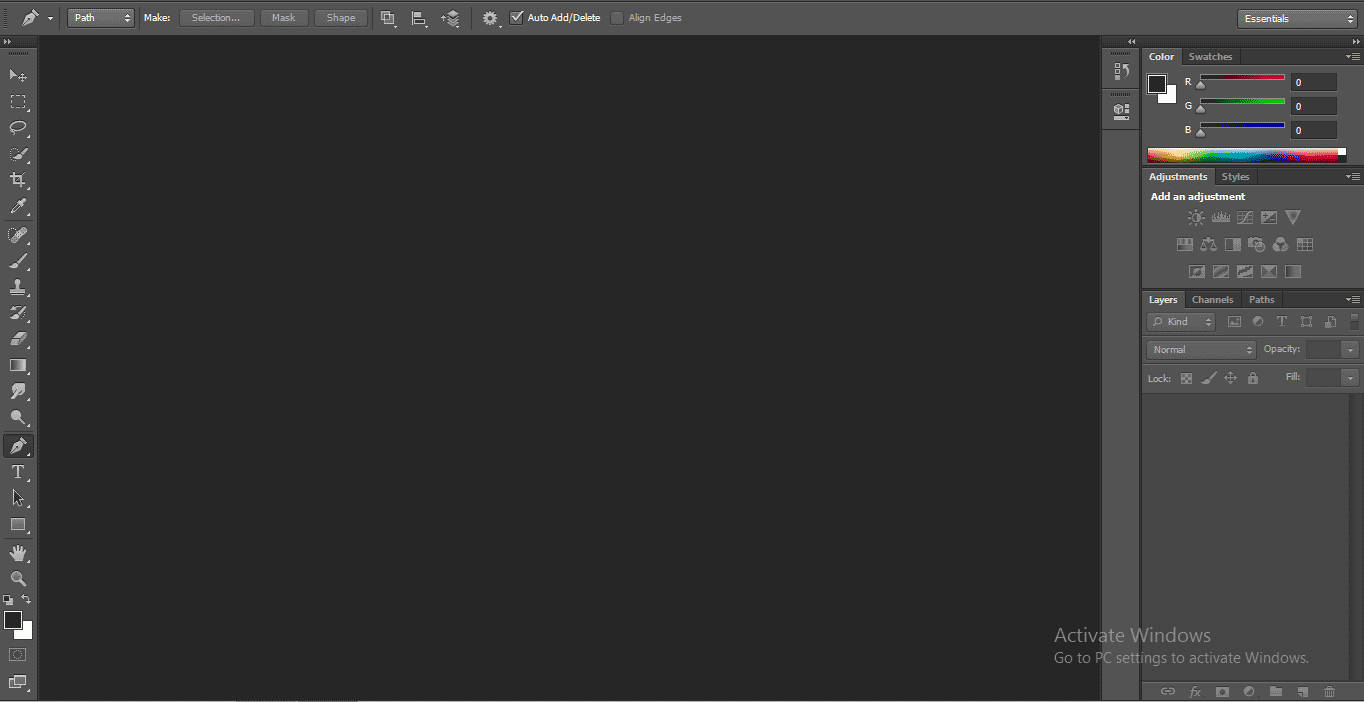
We have a different type of section here for making our work easy. We have a small tool console at the top of the work area, a Projection Window at the left corner of the work expanse, a Layer department at the lower-left corner, a Timeline section at the bottom, and a Limerick window in the middle of the work area. First of all, we will brand a uncomplicated animation and learn how to Export this blitheness for saving it in the desired format.
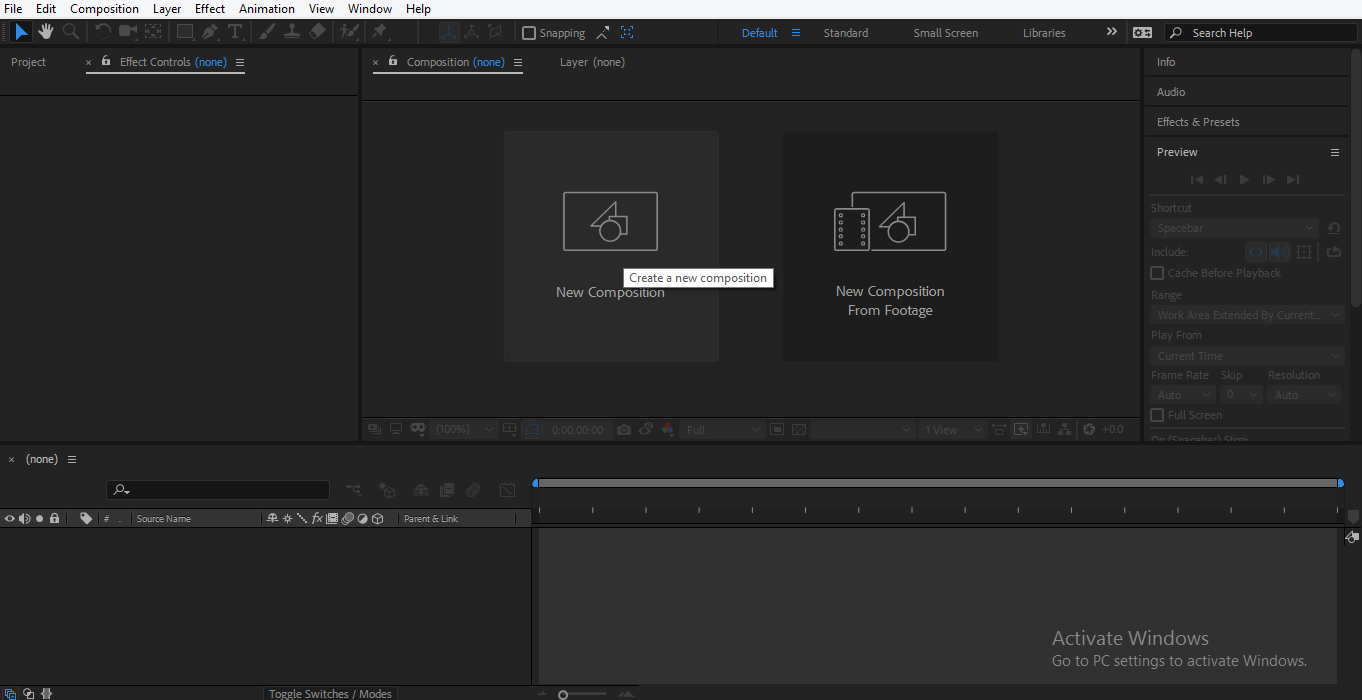
- Commencement of all, nosotros volition take a New Composition. For taking New Composition, click on the New Composition tab, which is present in the Composition window surface area.
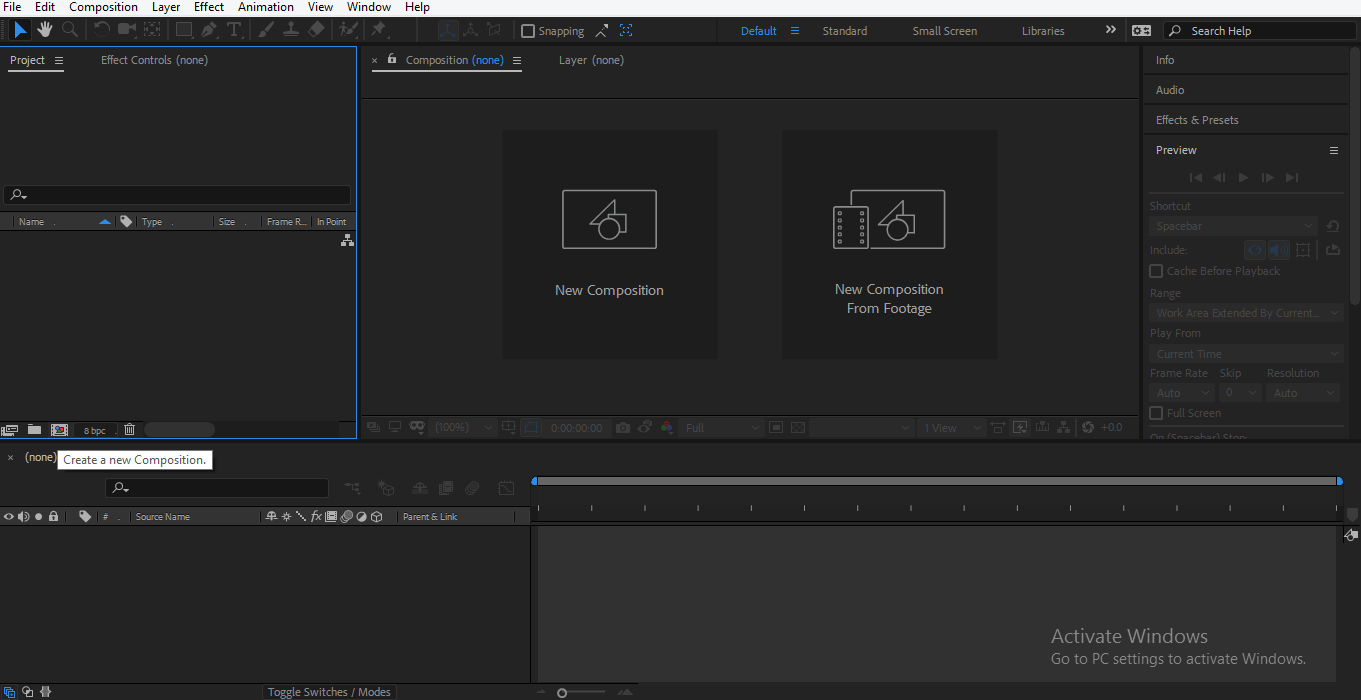
- Or click on Create a new Composition tab which is present on the project window of this software.
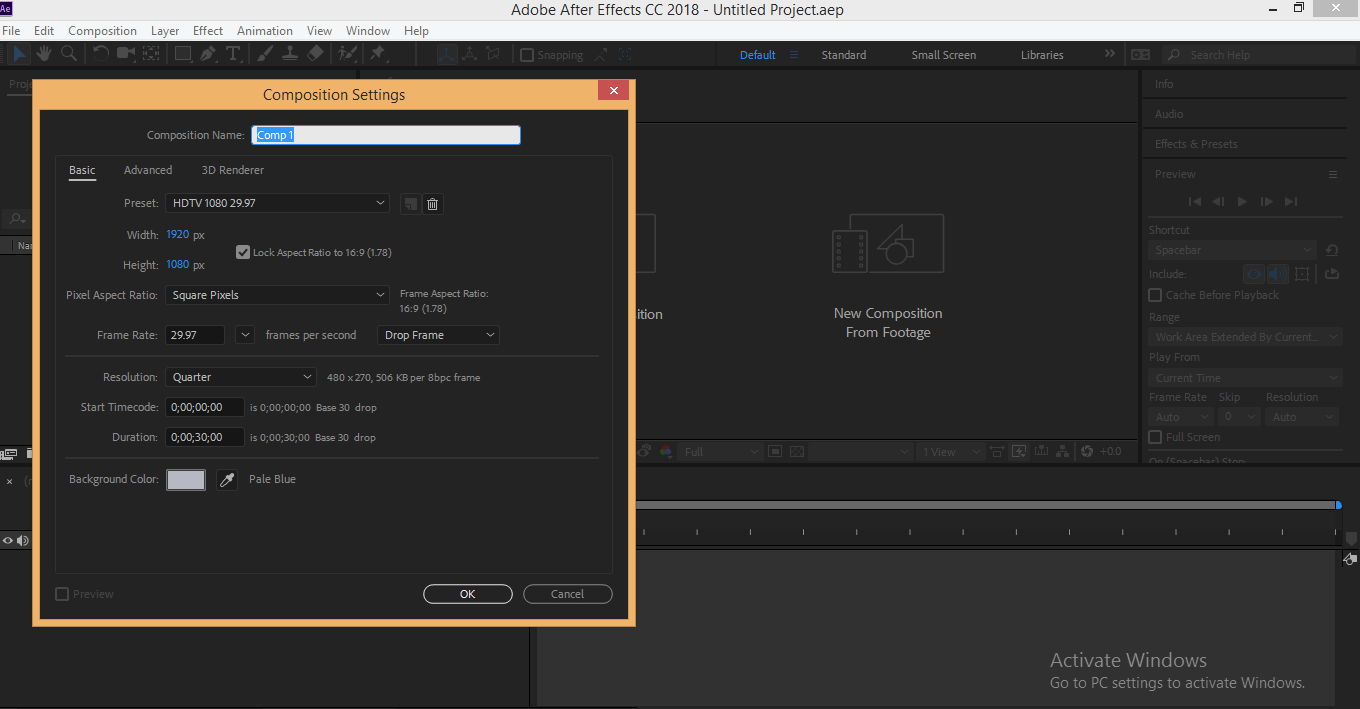
- The composition Setting dialog box will open; choose your desired setting for your composition. Here I volition choose the default setting for my composition and press on the OK tab of this dialog box to apply your composition setting.
- Take a circumvolve control from the tool panel by clicking on the circle icon, which is nowadays in the drib-down listing of rectangle tools, now describe a circle.
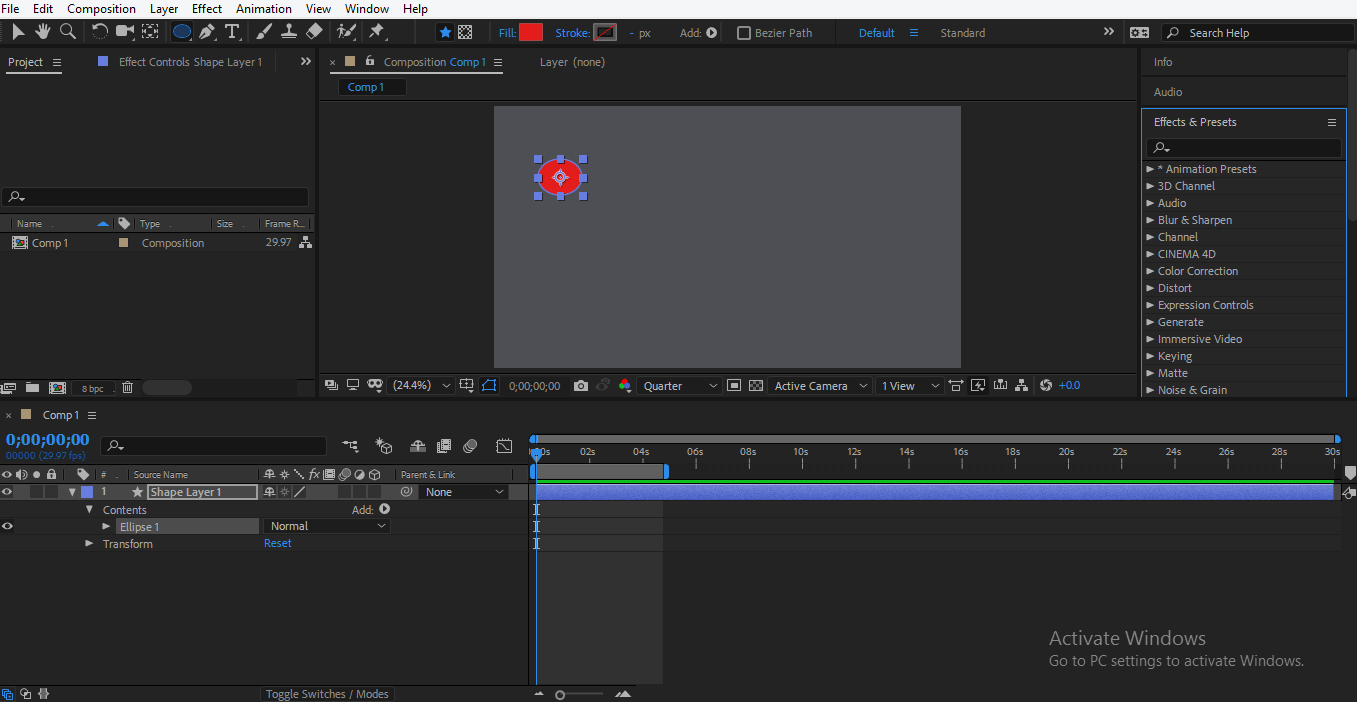
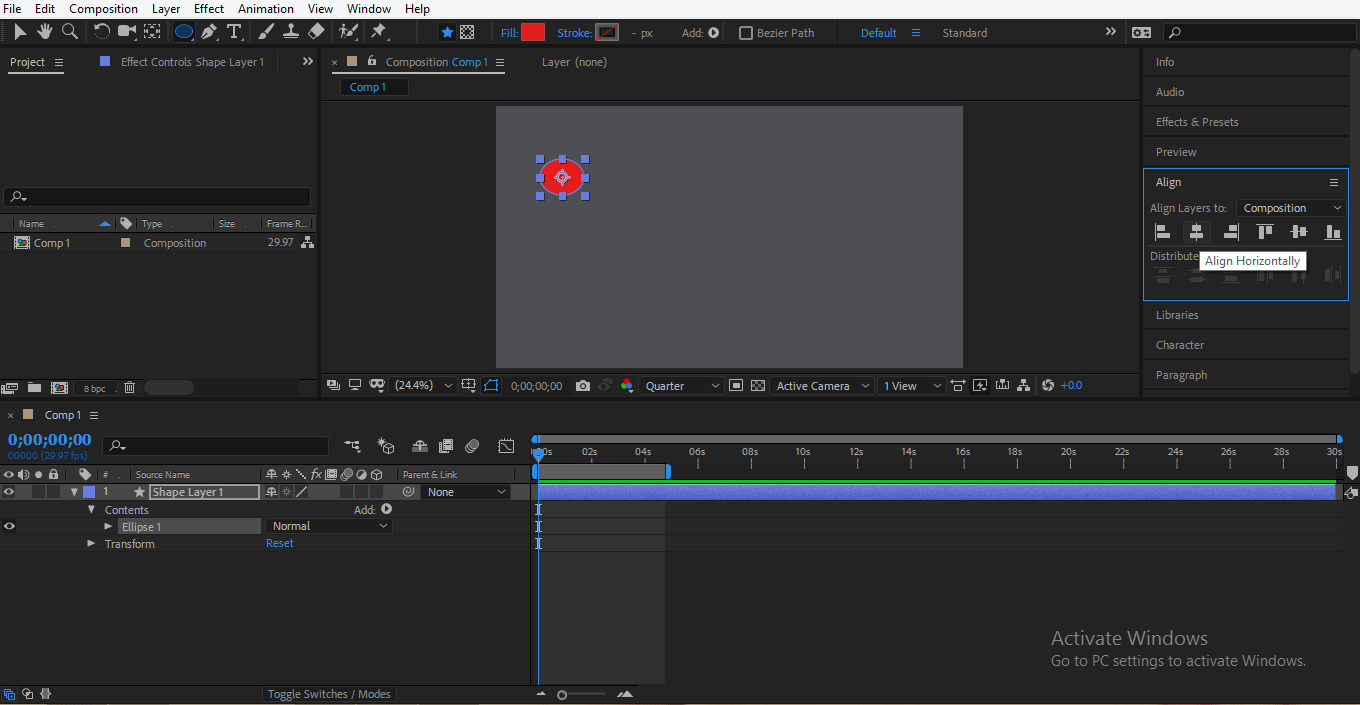
- Go to marshal command at the right side of the work expanse, to align the circle at the center of the limerick, press the Ctrl+Alt+Abode key then the Ctrl+Home central on the keyboard.
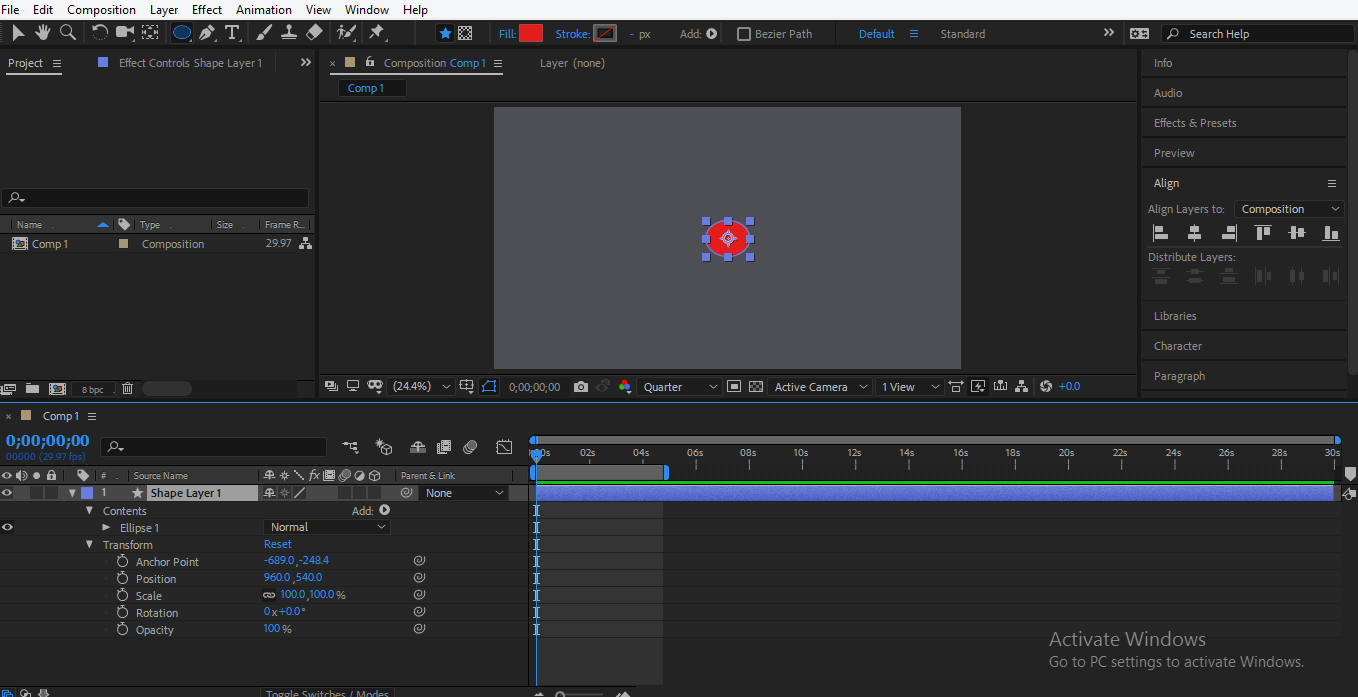
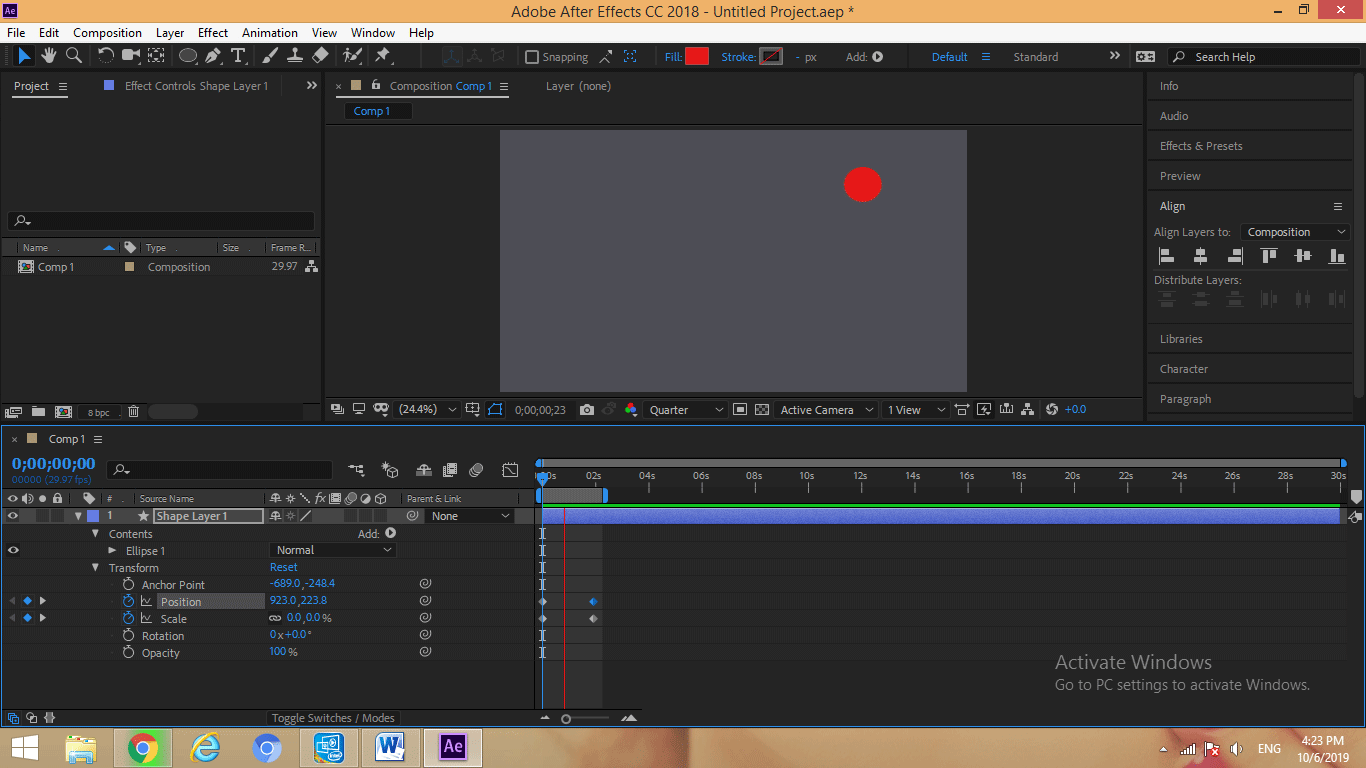
- Now we will breathing this circle, and so click on the shape layer at the layer section of this software and click on the small-scale pointer button of the shape layer'southward transform holding; now, sub-properties of the transform property will open up.
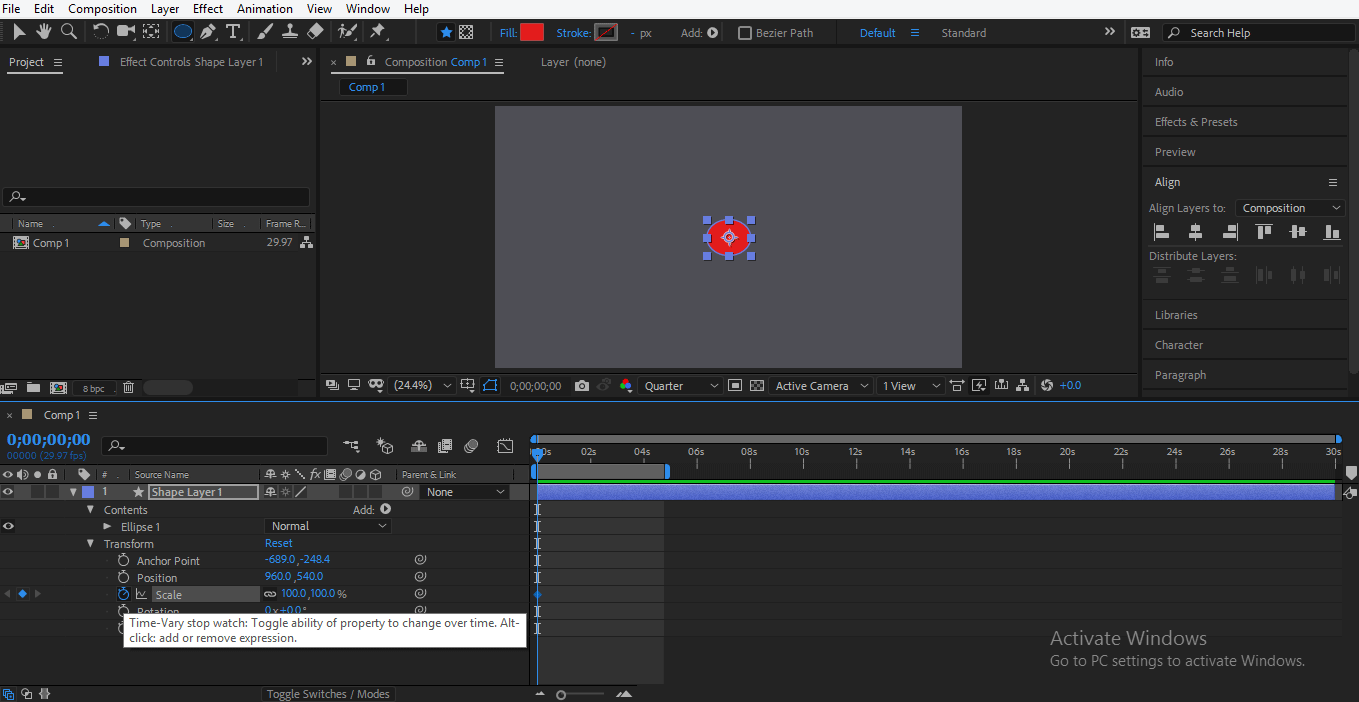
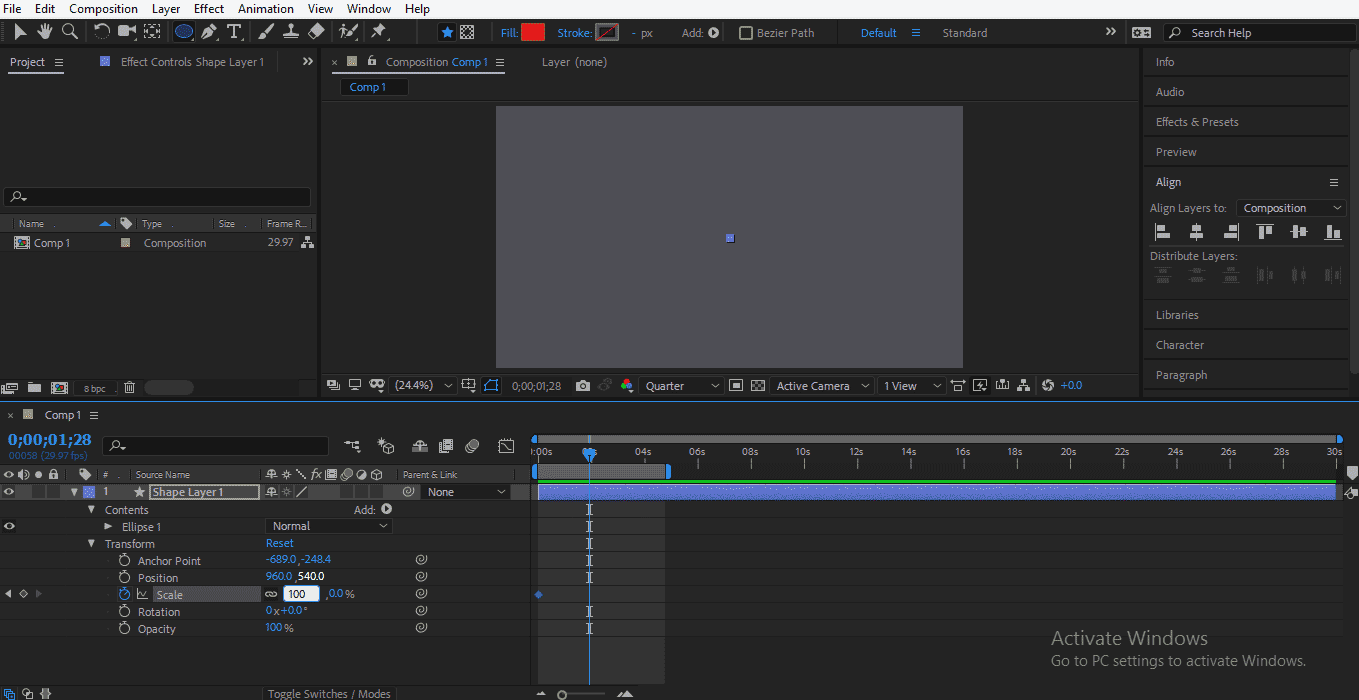
- We will animate the circle'south scale and position property, first click on the clock icon of the scale holding to generate the starting time central for the animate scale property.
- Now I will make the calibration belongings value to zero percent so that the circle becomes invisible to me at the starting keyframe.

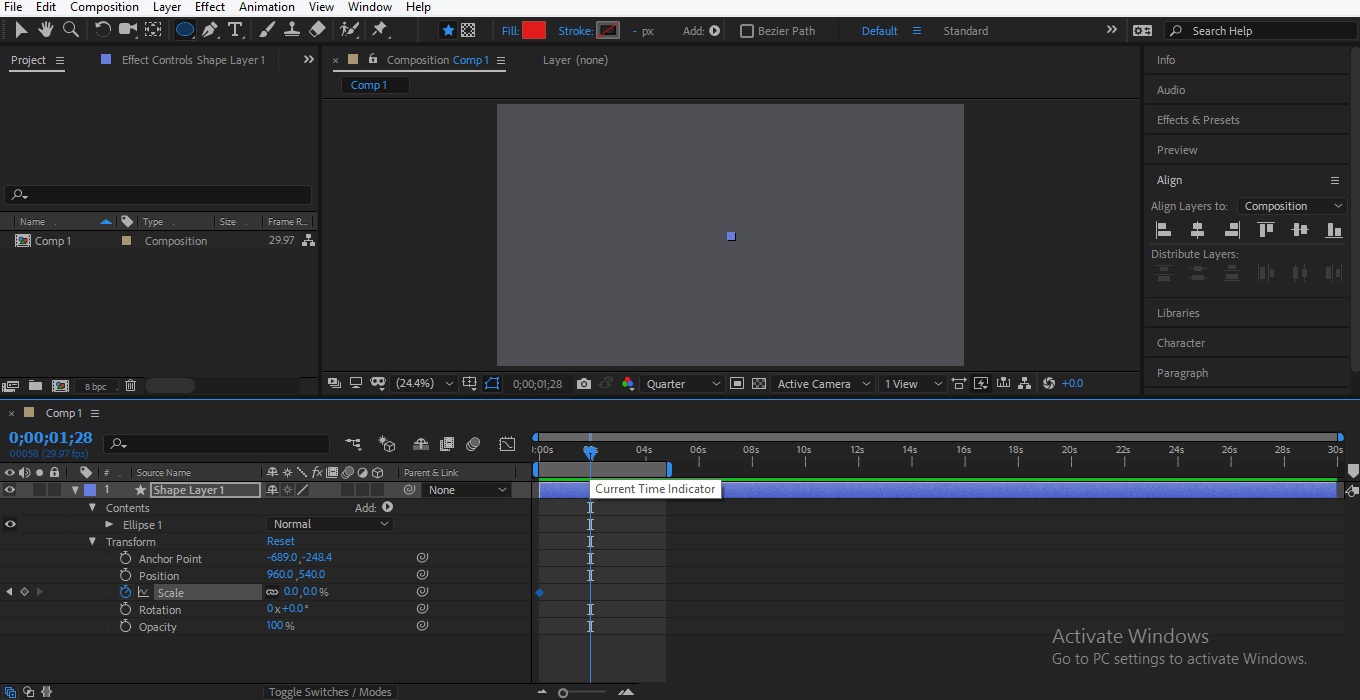
- Now I volition set the keyframe play caput at 2 sec; you can ready it according to you.

- And make the value of the calibration property to 100%.
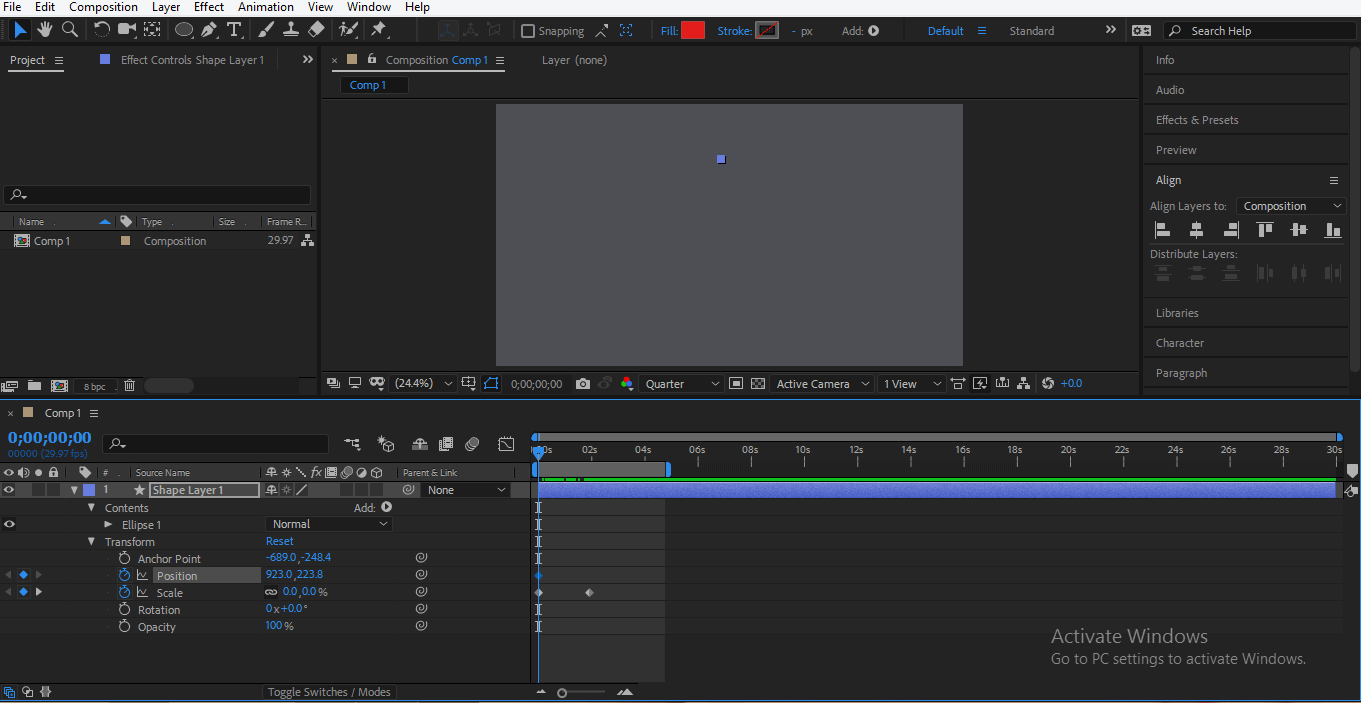
- Now drag the keyframe play head at the starting point to set other property animation and click on the clock icon of the position property of circle to generate a offset keyframe for it.
- Now I will identify the circle at the top position in my composition.
- Drag the keyframe play head at the aforementioned time of the finish cardinal of scale belongings of the circle and place the circumvolve out of the composition.
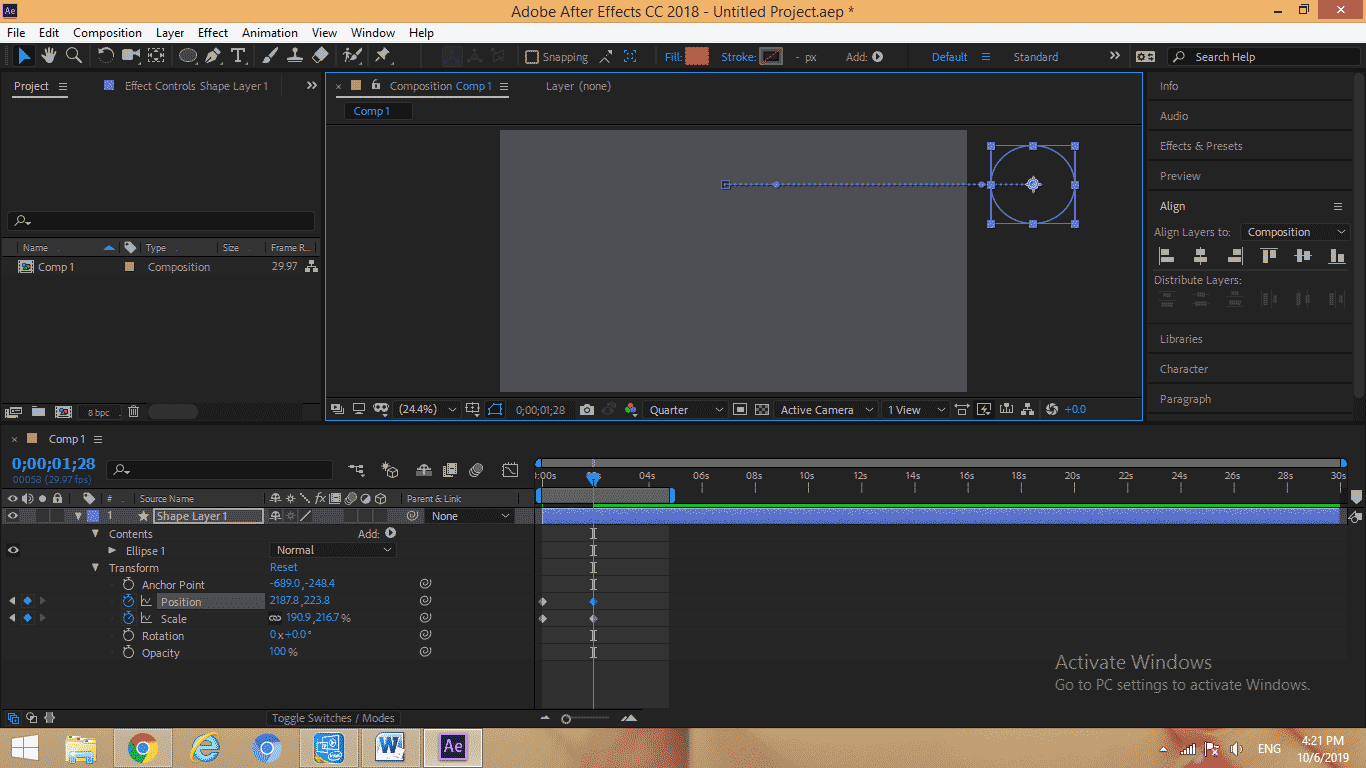
- Now yous tin can see the blitheness by pressing the spacebar key or press the Play push button from the Preview option on the correct side.
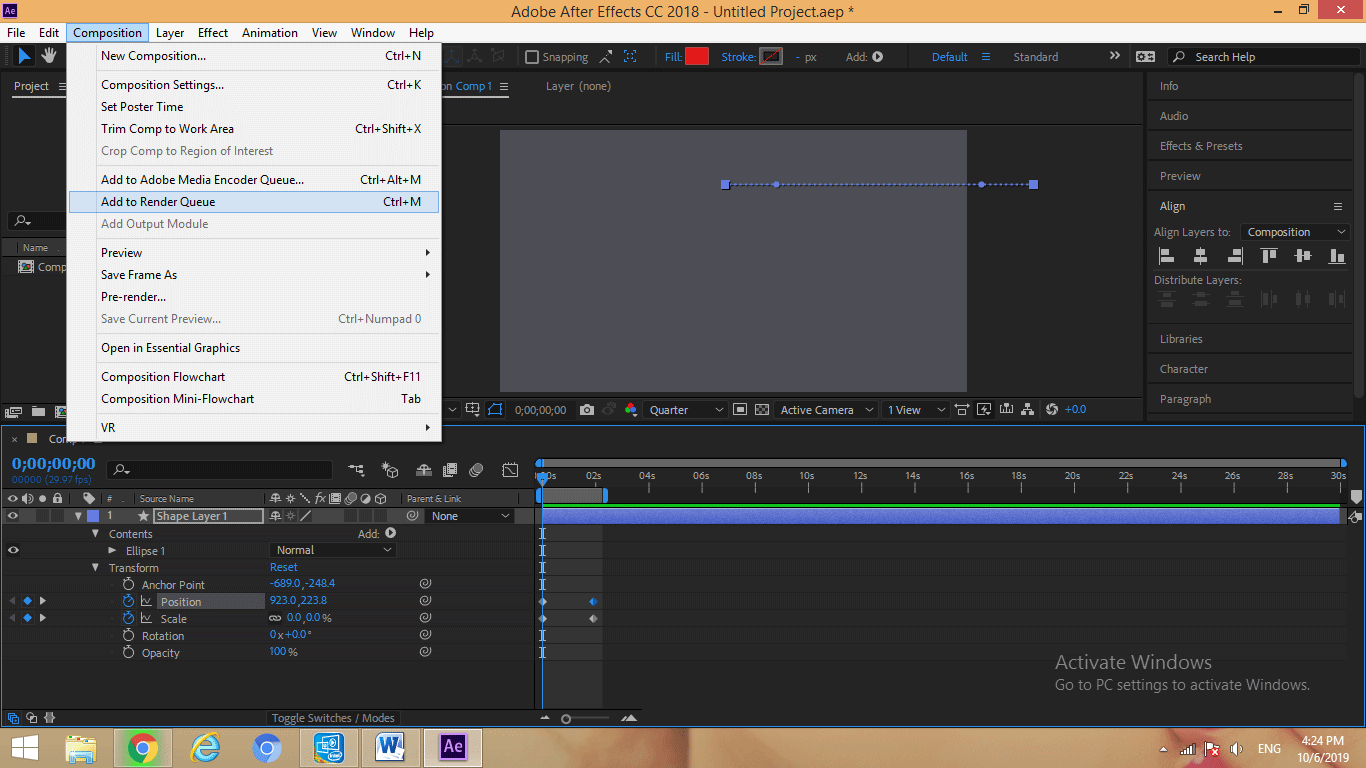
- Now we will consign this animation. For exporting, click on the Composition tab at the top of the work area and click on Add together to Render Queue pick of the drop-down list.
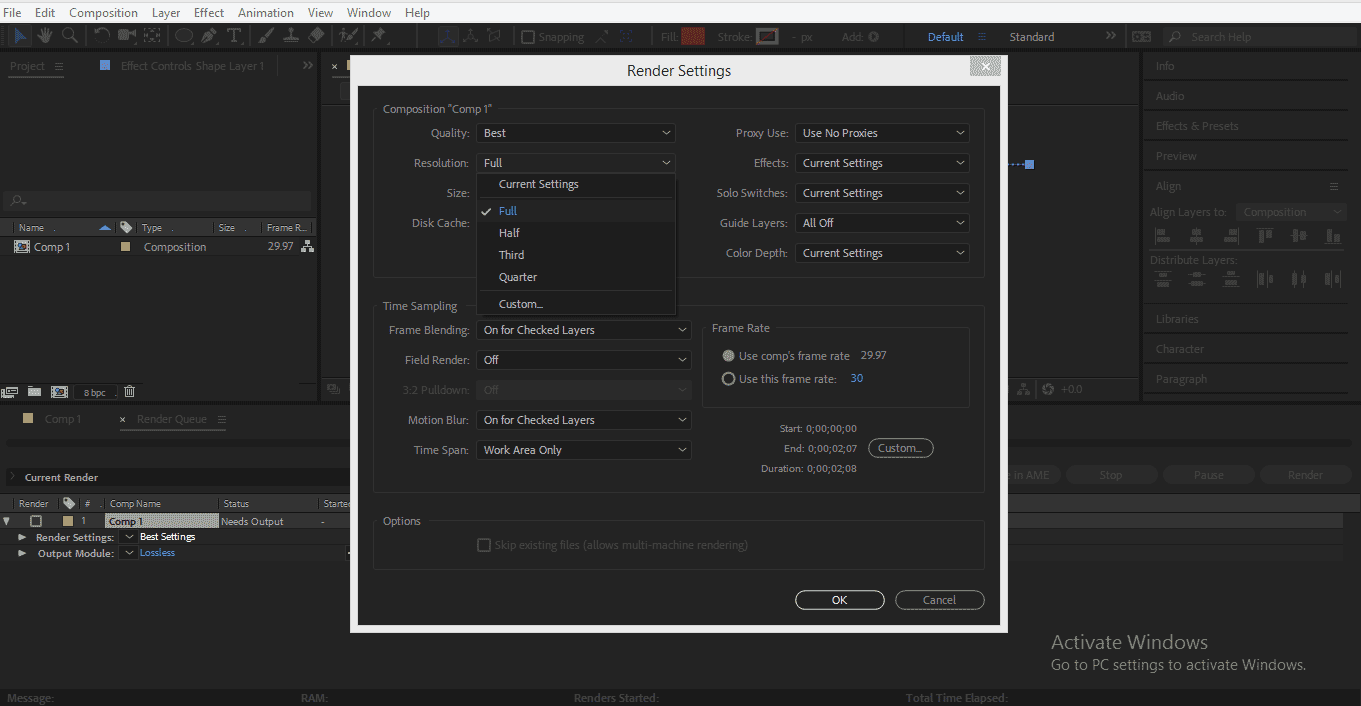
- Click on the Best tab of the Render settings choice in the layers department, a dialog box will open.
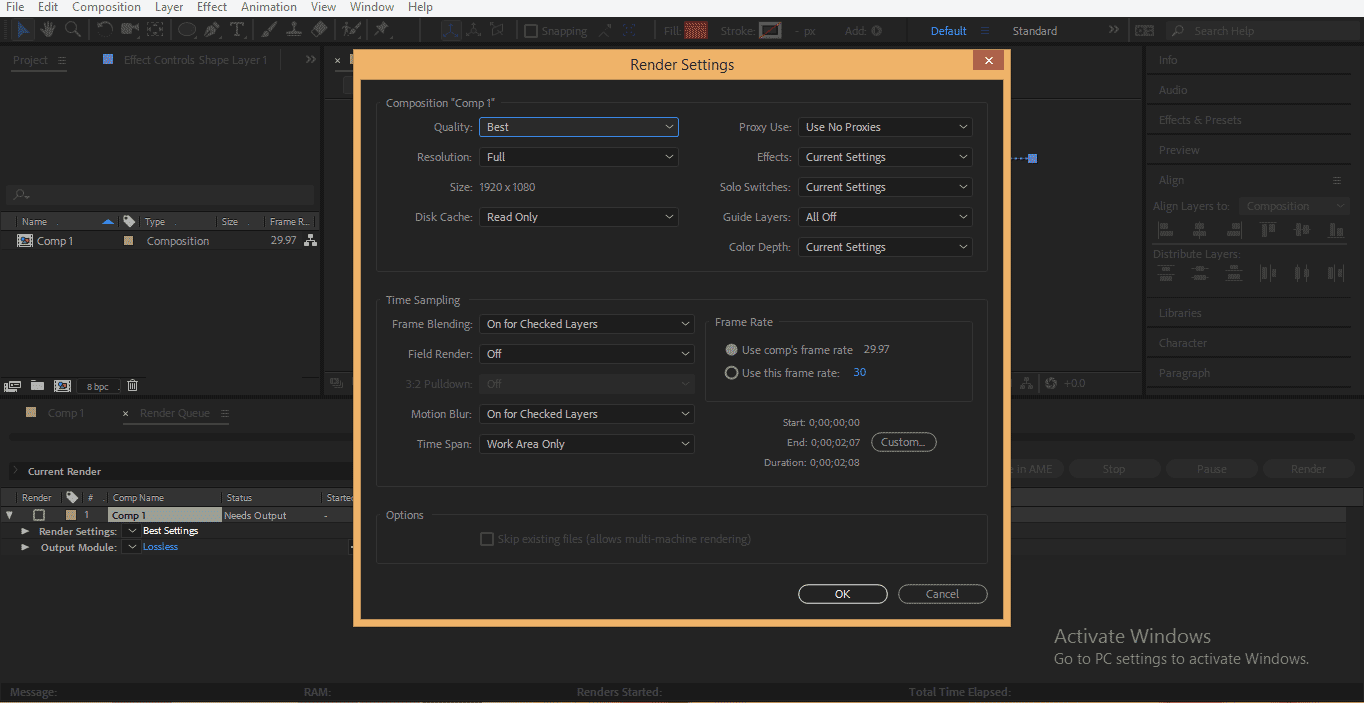
- Choose Best equally the Quality and Total equally a resolution from this dialog box for your project's best rendering. You tin ready other settings co-ordinate to you; press on the OK tab of this dialog box to use your project'southward settings.
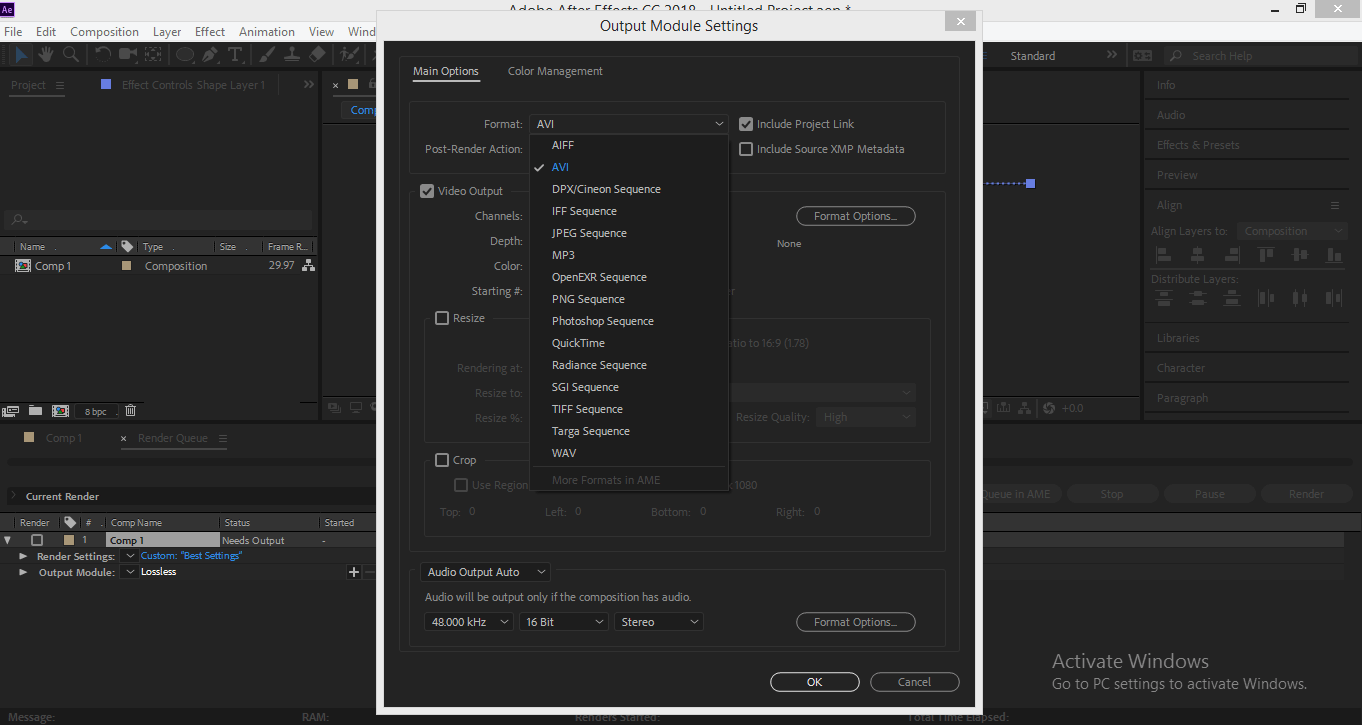
- Now click on the Lossless option of the Output module option in the layer department a dialog box will open; we can set the file format of our project from here.
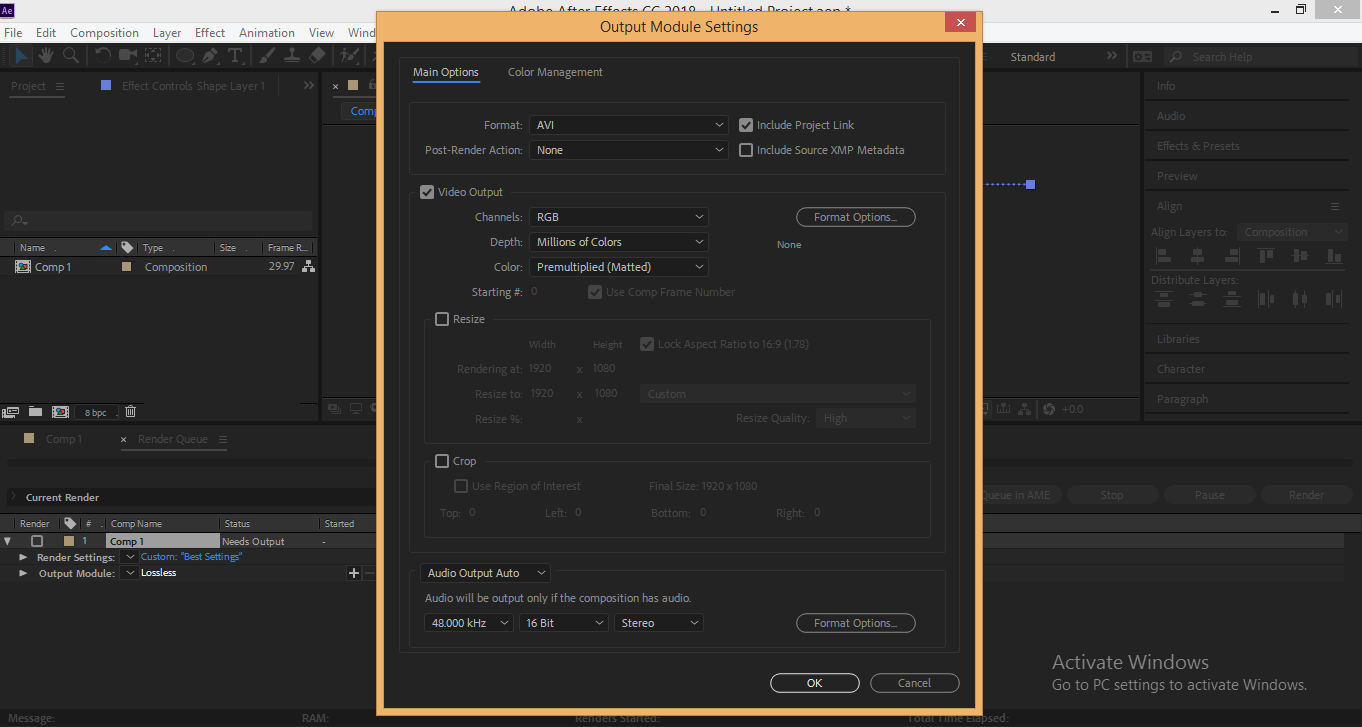
- You lot can choose whatsoever format from here I volition choose the AVI format for exporting my project; you tin ready other settings according to you. Press on the OK tab.
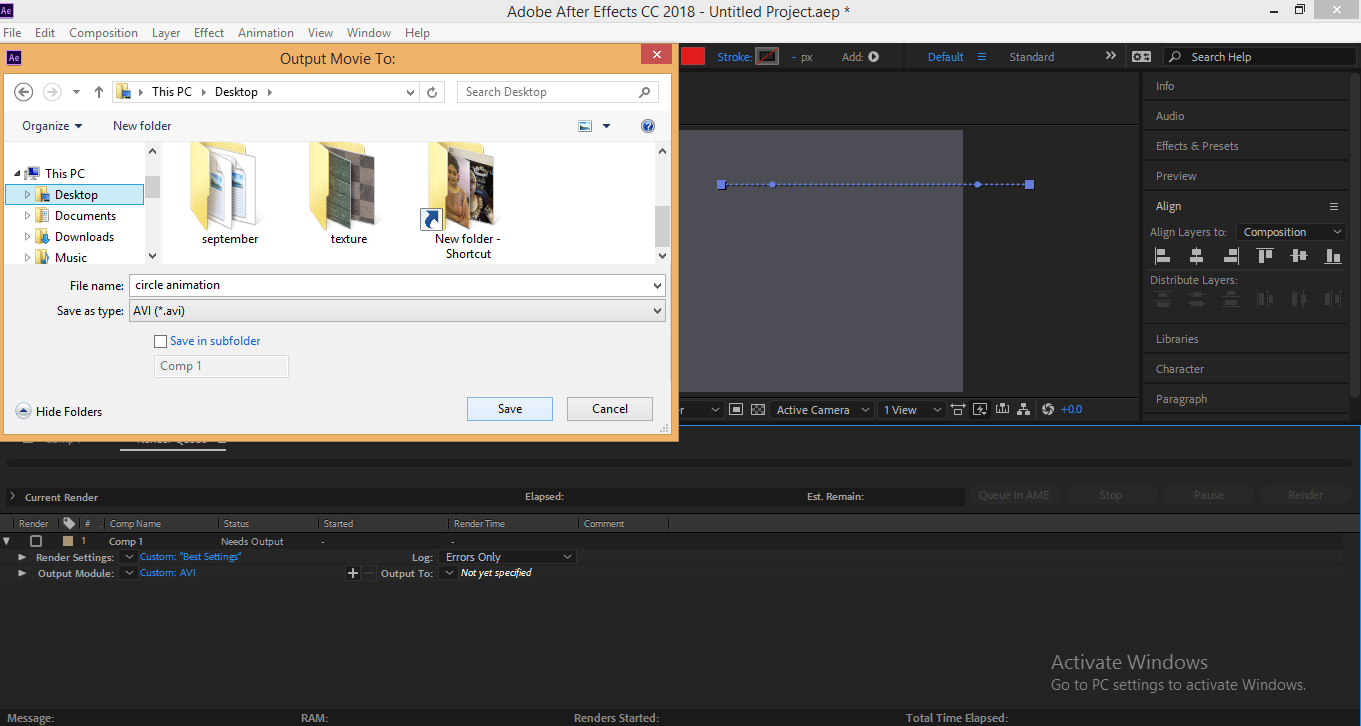
- Now click on the Not yet specified option of the Output To tab – to name your project –
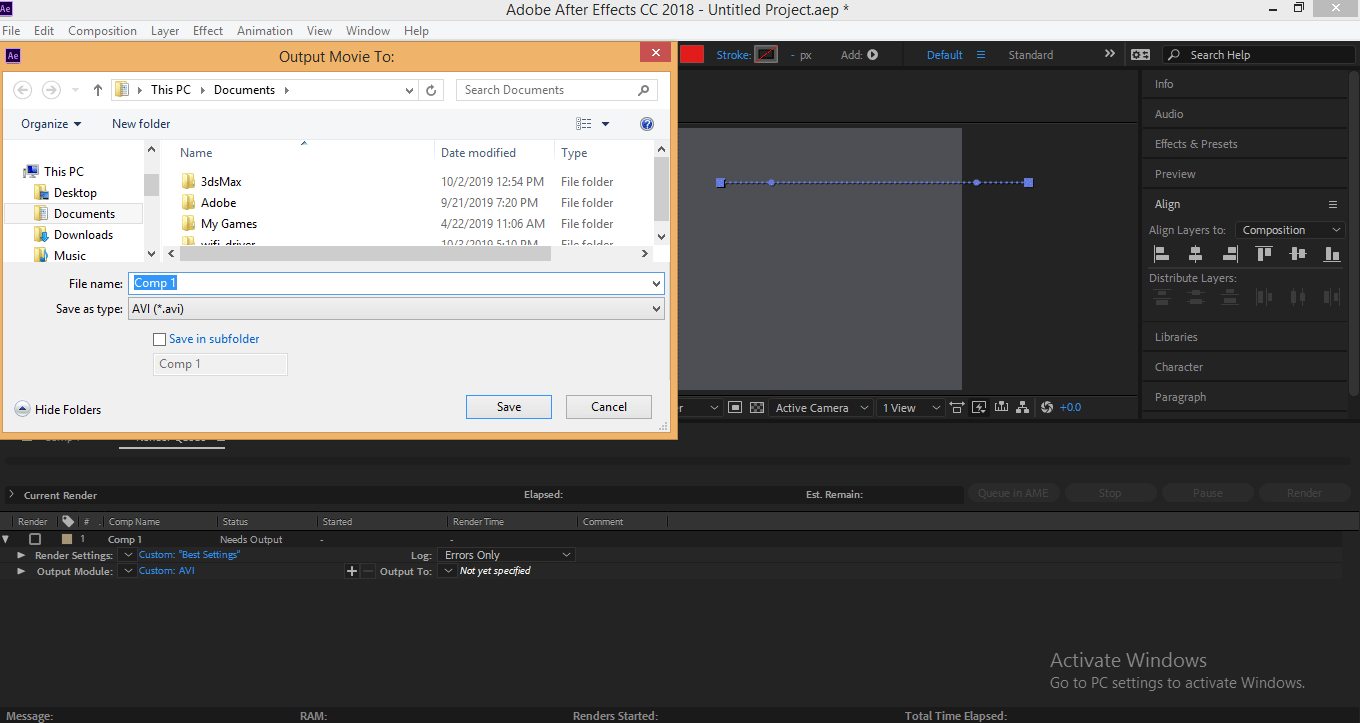
- A dialog box will open name with Output Motion-picture show To– choose the location where you want to salvage it and name your project – I will name it as Circle movement – click on the save button of this dialog box to save it –
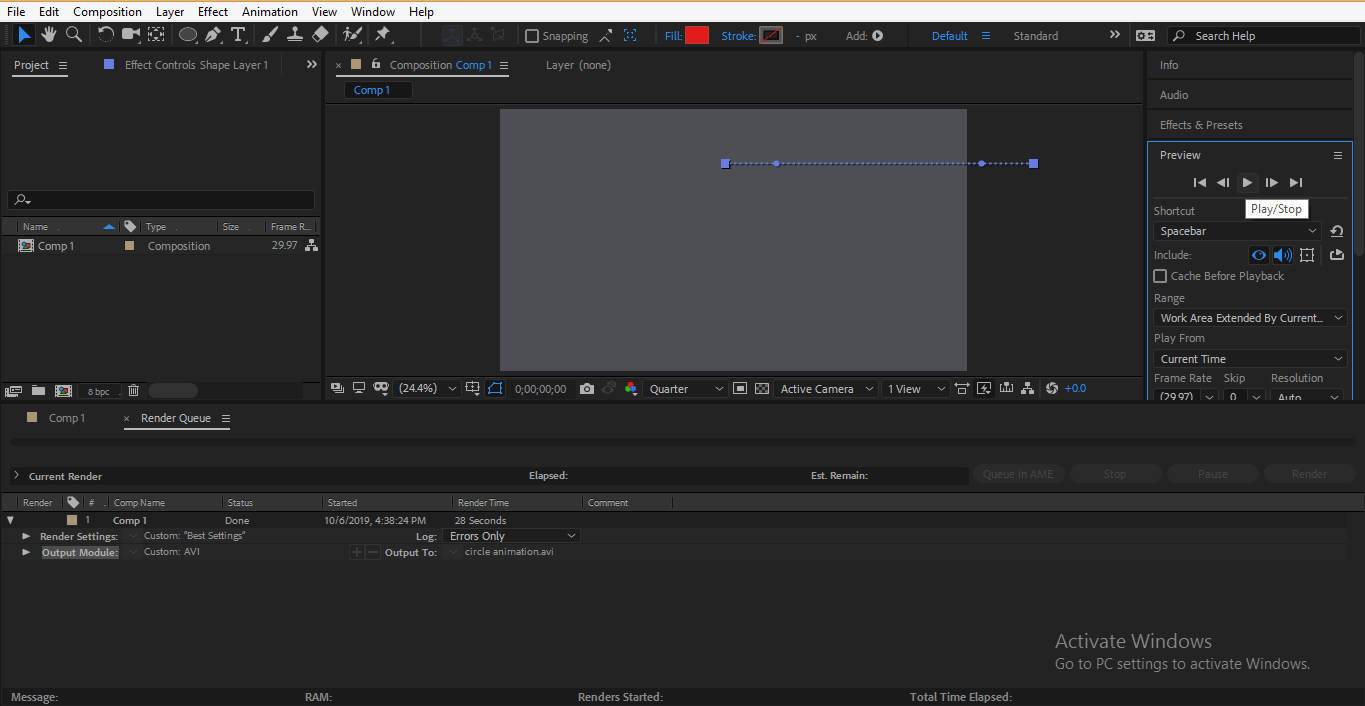
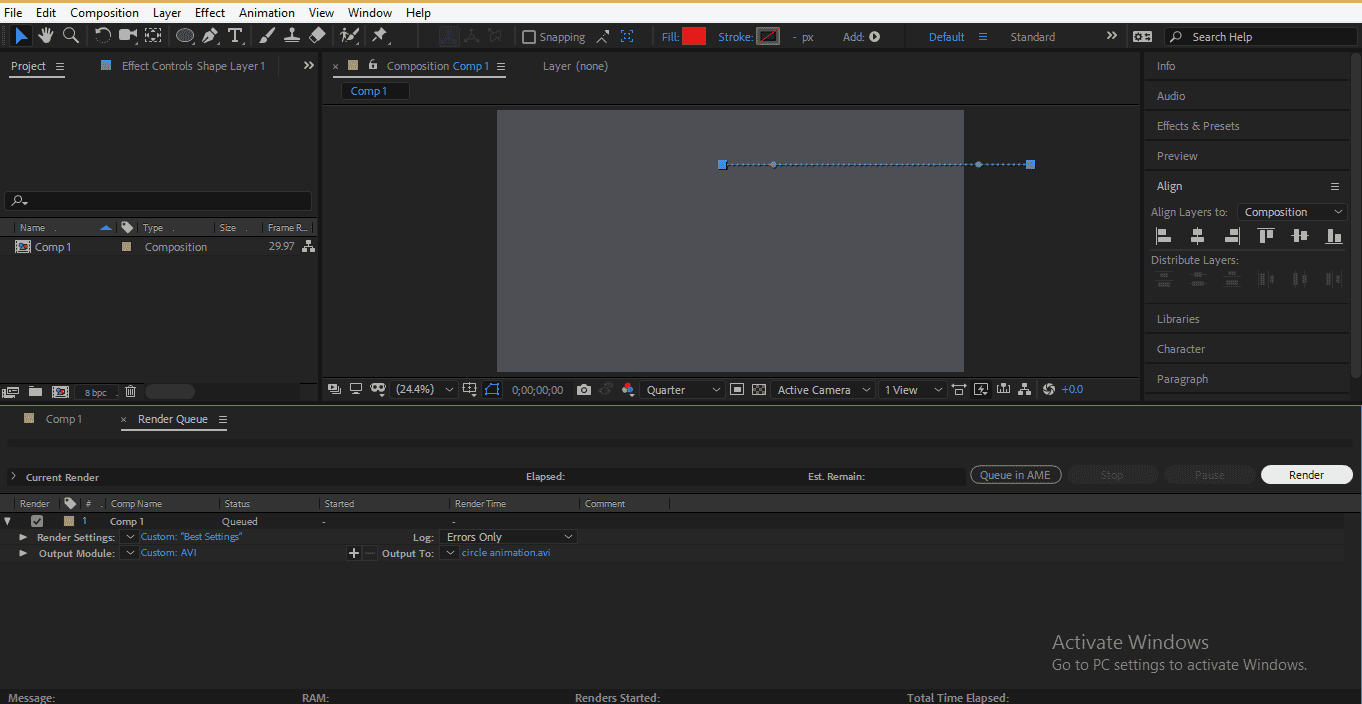
- Now click on the Render tab at the right corner of the working area to render your blitheness –
- It will take some time – Return time will depend on the size of your animation or projection – size means the number of layers, type of blitheness used in your project and many more things –
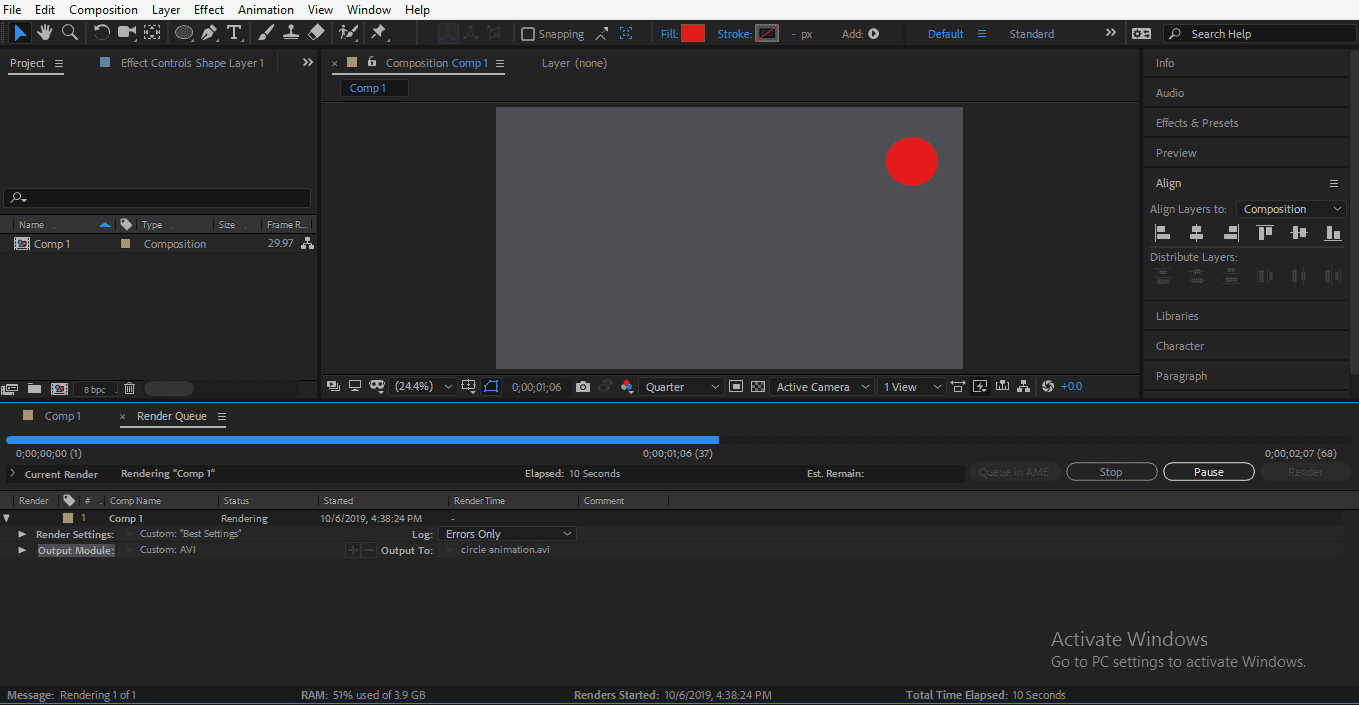
- Now your project is ready in your desired format and at desired location –
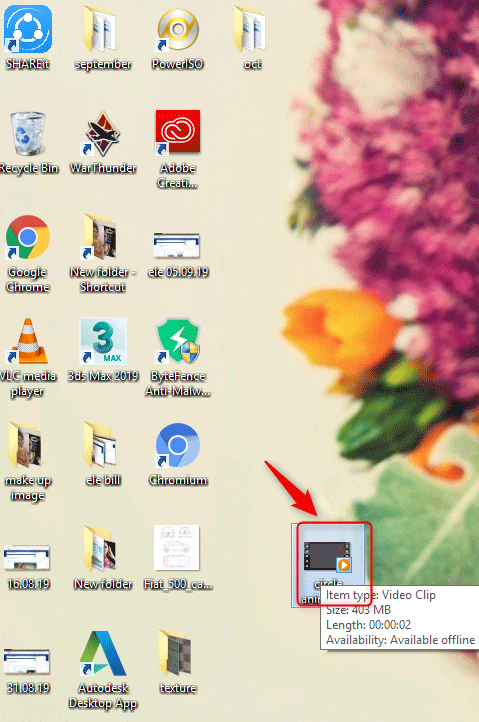
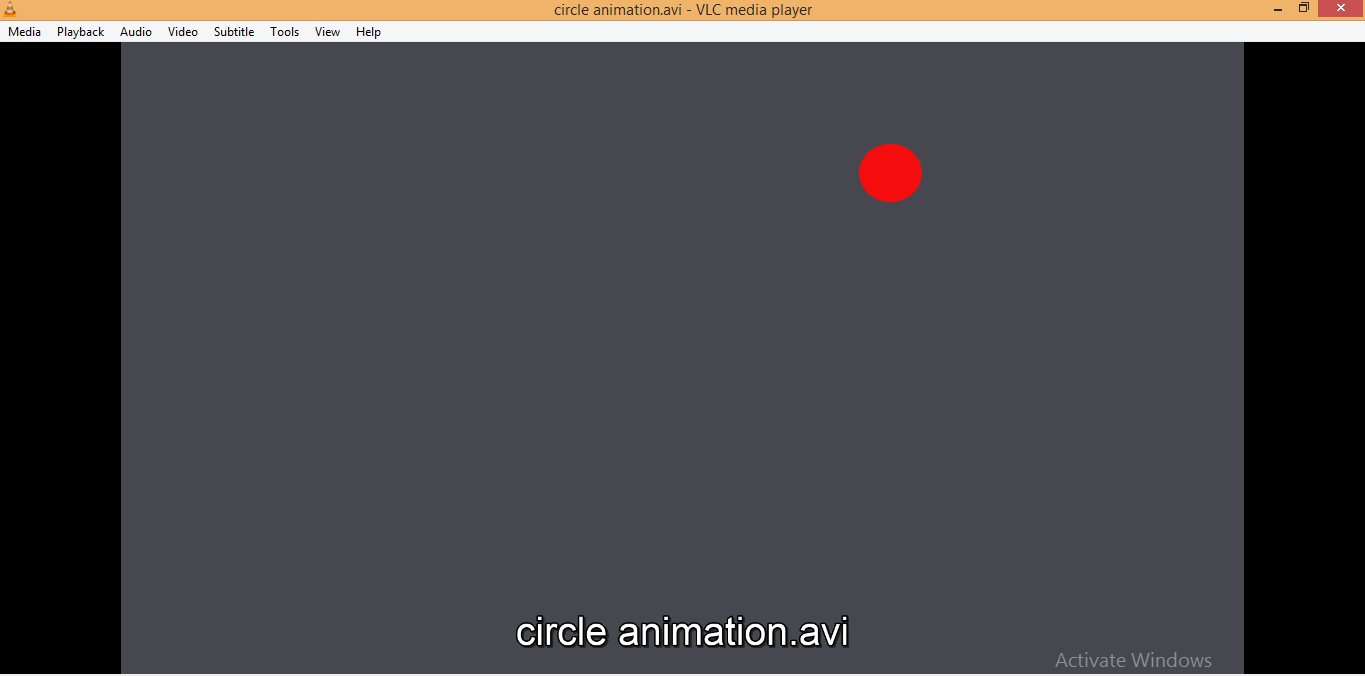
- And you tin can see your animation past play it on any video player –
Conclusion
Here you learned about the Export command of Adobe Subsequently Consequence Software with me, and afterward this tutorial, you can easily save your project in the appropriate format and make it compatible for your real purpose. Now you accept full control of Adobe Later on Event software after this tutorial because y'all can actually brand your projection a useable thing with the export command.
Recommended Manufactures
This is a guide to Consign in After Furnishings. Hither nosotros discuss an Overview of Consign in After Effects and Steps for Consign any project from Adobe Afterwards Effect. You may also look at the post-obit commodity to learn more –
- Motion Blur in After Effects
- 3D Furnishings in After Effects
- Background in After Effects
- Animation in Afterwards Effects
Source: https://www.educba.com/export-in-after-effects/
0 Response to "Can I Export in After Effects and Upload to Avid"
Post a Comment